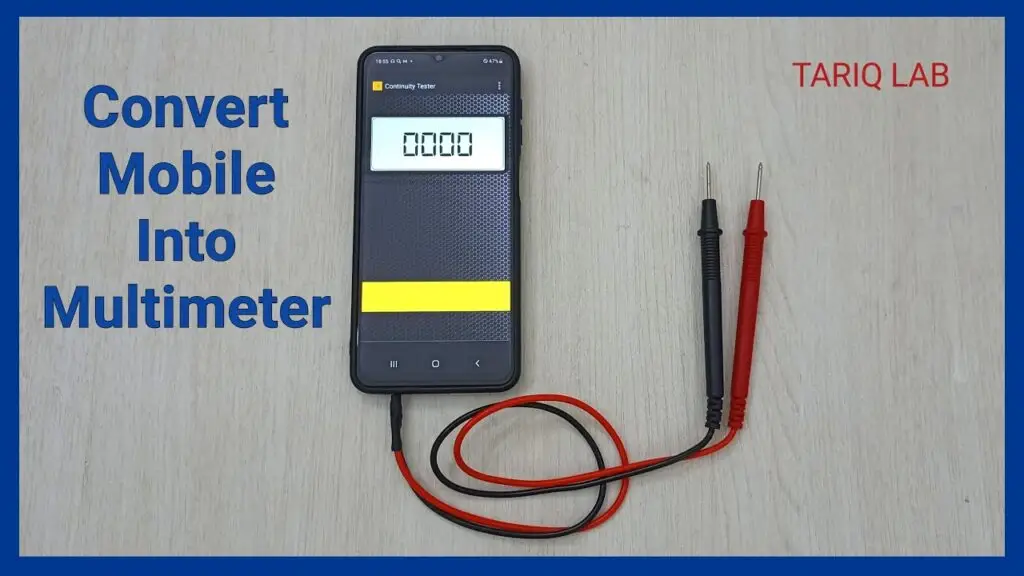
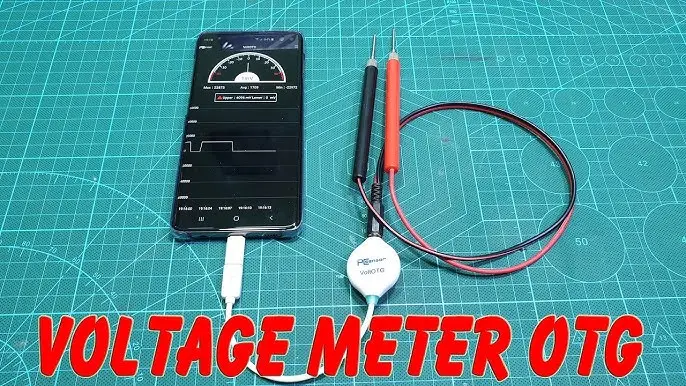
If you’re looking for Apps that can help you make a Multimeter using an Android Mobile as a connectivity tester, there are a few options that can help you make a Multimeter using a Mobile Phone.
Multimeters are crucial for anyone working in electronics since they can measure voltage, current, and resistance. But what if you don’t have a physical multimeter available? Technological improvements allow you to turn your Android phone into a working multimeter. In this blog post, we’ll go over how to accomplish this and provide step-by-step directions to get you started.
Introduction to Multimeters.
A multimeter is an electronic measuring equipment that integrates multiple measurement operations into a single unit. It typically measures voltage (volts), current (amperes), and resistance (ohms). More modern multimeters can detect capacitance, frequency, and temperature, among other things.
Why use an Android phone as a multimeter?
Using an Android phone as a multimeter has multiple advantages.
- Convenience: You always have your phone with you, so it’s a portable solution for rapid measurements.
- Cost-effective: It may save you money over acquiring a specialist multimeter.
- Advanced features: Many multimeter apps provide data logging, waveform visualization, and Bluetooth connectivity.
How to Make a Multimeter using an Android Mobile

Requirements
To convert your Android phone into a multimeter, you will require the following:
- An Android phone: Any contemporary Android handset should work, but make sure it supports OTG (On-the-Go).
- Multimeter app: Various apps on the Google Play Store can turn your phone into a multimeter.
- External hardware: Certain measurements will necessitate the use of external hardware, such as a Bluetooth-enabled multimeter or a USB OTG cable and converter.
- Probes and connectors: Standard probes for physical multimeters.
Step-by-Step Guide
1. Selecting the Right App.
There are several apps available on the Google Play Store that can help you convert your Android phone into a multimeter. Some prominent alternatives are:
- Smart Multimeter: This app provides voltage, current, and resistance readings.
- ElectroDroid: a versatile program that offers a variety of electronic tools and references.
- Multimeter Pro: a professional-grade program that offers extensive measurement features.
Download and install the app that best meets your needs.
2. Setting up External Hardware
Depending on the measurements you plan to take, you may require additional gear. Here are several settings you could consider:
Using A Bluetooth Multimeter
- Buy a Bluetooth-enabled multimeter: These devices can wirelessly send info to your phone.
- Pair the multimeter with your phone: Enable Bluetooth on your phone and follow the pairing instructions included with the multimeter.
- Launch the app: Open your preferred multimeter app and choose the Bluetooth device as an input source.
Using a USB OTG Cable

Get a USB OTG cable, which allows you to connect USB devices to your Android phone.
Connect the multimeter. Connect a suitable multimeter to your phone via an OTG connection.
Configure the application: Open your multimeter app and configure it to read data from a USB-connected multimeter.
Using Audiojack Probes
- Purchase audio jack probes: These probes plug into your phone’s audio jack and turn it into a measuring input.
- Connect the probes: Connect the probes to the audio jack and attach them to the points you want to measure.
- Open the app: Launch the multimeter app and choose the audio jack as the input source.
Shopsy Customer Care Number And Customer Support – 2024
3. Customizing Your Setup
Once your gear and app are set up, you must calibrate your system to ensure accurate measurements. Most multimeter apps provide a calibration feature. Take these steps:
- Open the calibration menu: which is usually found in the app’s settings or tools area.
- Follow these instructions: The program will walk you through the calibration procedure, which usually includes measuring known values and modifying settings accordingly.
- Save the calibration: Once calibrated, save the parameters for later use.
4. Taking measurements
Once your system is calibrated, you may begin taking measurements. Here’s how to measure various factors.
Measuring voltage
- Switch the multimeter app to voltage mode: Choose the relevant setting in the app.
- Connect the probes: Attach the probes to the points you wish to measure.
- Read this value: The app will show the voltage reading.
Measuring of Current
- Set the app to the current mode: Choose the current measurement setting.
- Connect the probes in series: Unlike voltage measurement, current measurement requires that the probes be linked in series with the circuit.
- Read this value: The app will show the current reading.
Measurement of Resistance
- Set the app to resistance mode: Select a resistance measurement setting.
- Connect the probes across the component: Attach the probes to both ends of the component whose resistance you want to measure.
- Read this value: The app will show the resistance reading.
Samsung J2 Play Store Server Error: Update Play Store – 2024
Safety precautions
When using your Android phone as a multimeter, it is critical to follow safety precautions to avoid damaging your phone or injuring yourself.
- Use appropriate probes: Make sure the probes you use are rated for the measurements you plan to take.
- Avoid high voltages: Most phone-based multimeter configurations are not intended for high-voltage measurements. To prevent harm, stick to low-voltage circuits.
- Check the connections: Before taking any measurements, make sure that all connections are secure and proper.
- Read the app manually: Reading the manual or help section will help you understand the app’s features and limitations.
Advantages and Limitations.
Advantages
- Portability: Your phone is constantly with you, making it an ideal multimeter alternative.
- Cost-effective: Using an app and several affordable accessories is less expensive than purchasing a dedicated multimeter.
- Advanced features: Many apps include data logging, waveform analysis, and other advanced features that are not available in simple multimeters.
Limitations
- Accuracy: Phone-based multimeters may be less accurate than specialist equipment.
- They may have a limited measurement range: particularly for large voltages and currents.
- Dependence on external hardware: Some measurements necessitate additional hardware, which may be less reliable than a standalone multimeter.
Conclusion
Using your Android phone as a multimeter is a simple and inexpensive way to do basic electronic measurements. With the correct app and hardware, you can easily measure voltage, current, and resistance. While it cannot replace a specialized multimeter for professional use, it is a practical option for hobbyists, students, and anyone who requires a rapid measurement instrument.
By following the methods explained in this post, you can turn your Android phone into a multimeter and begin exploring the world of electronics with a powerful tool right in your pocket. Whether you’re troubleshooting a circuit, trying out DIY projects, or just curious about the voltage of your batteries, your phone can suddenly be your go-to gadget for electronic measurements.


